
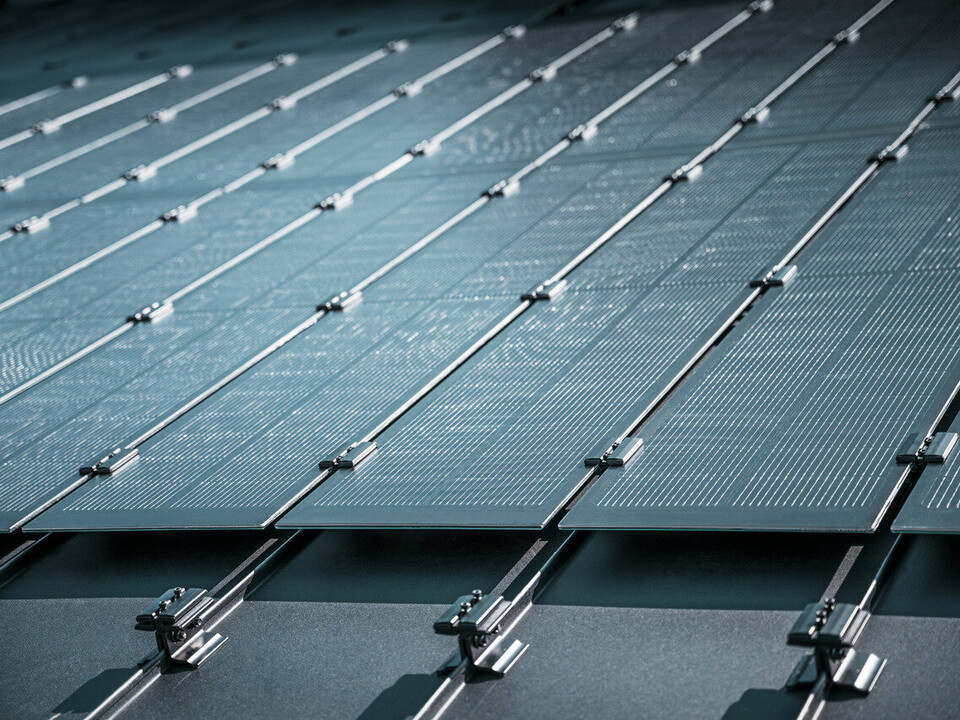


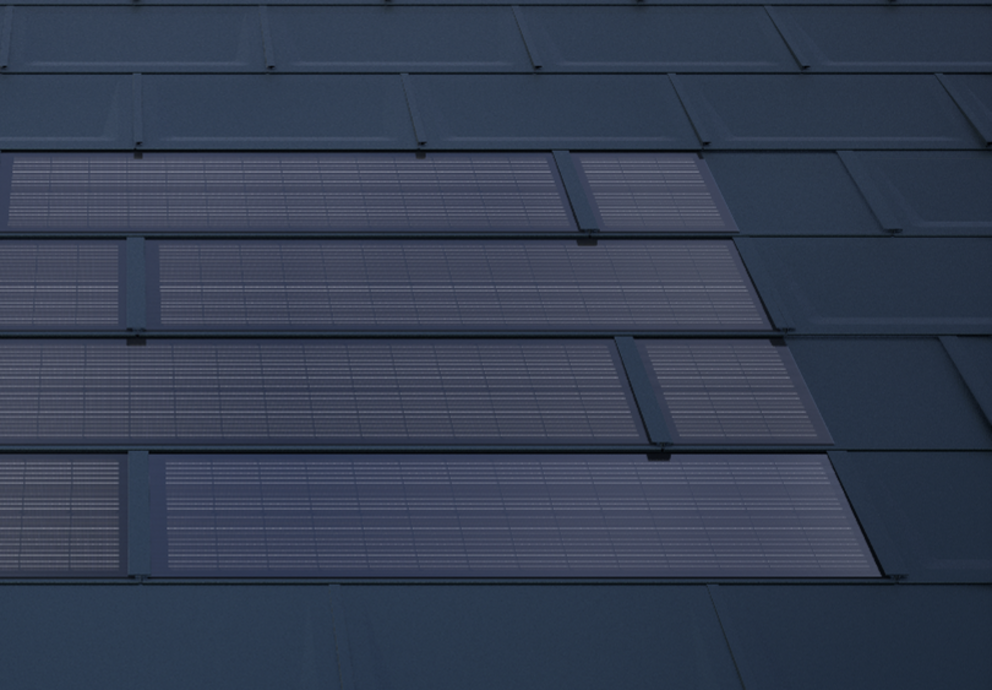
To obtain a flush finish at the side of the solar roof panel area, supplementary panels can be installed. These are matched to the PREFA solar roof panel and serve solely to visually complete the generator area, thus producing no electrical power. They are installed in the same way as the solar roof panels and blend seamlessly into the roofing pattern without affecting the electrical function of the solar generator.
Note
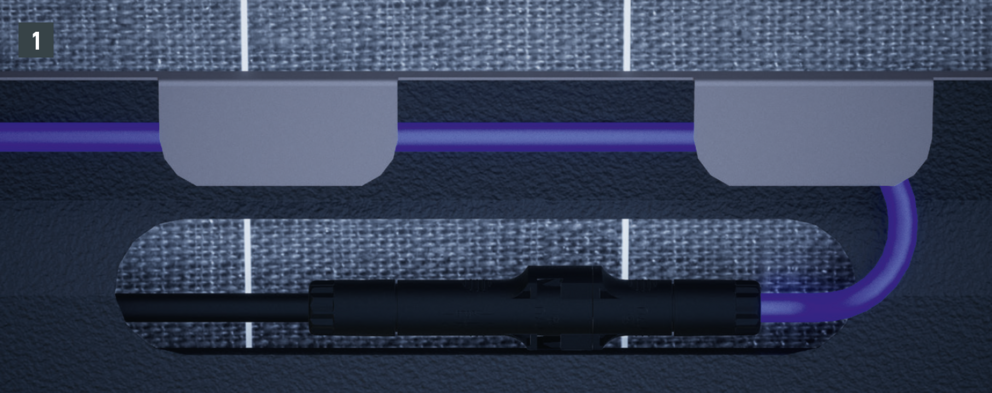
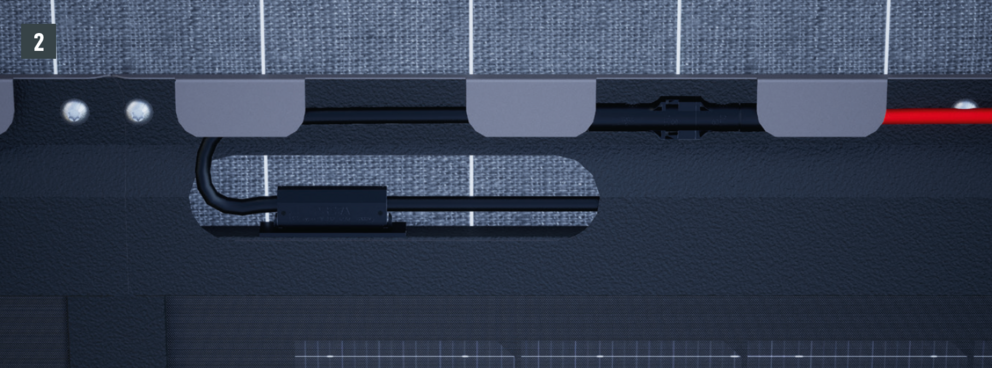
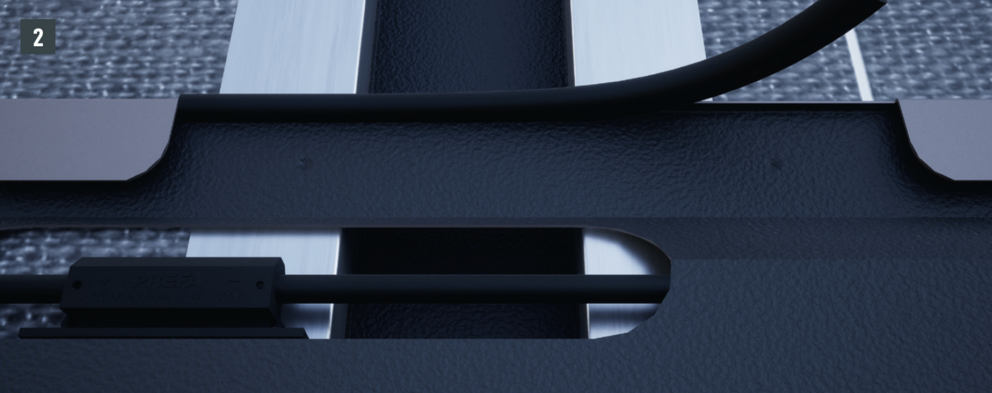
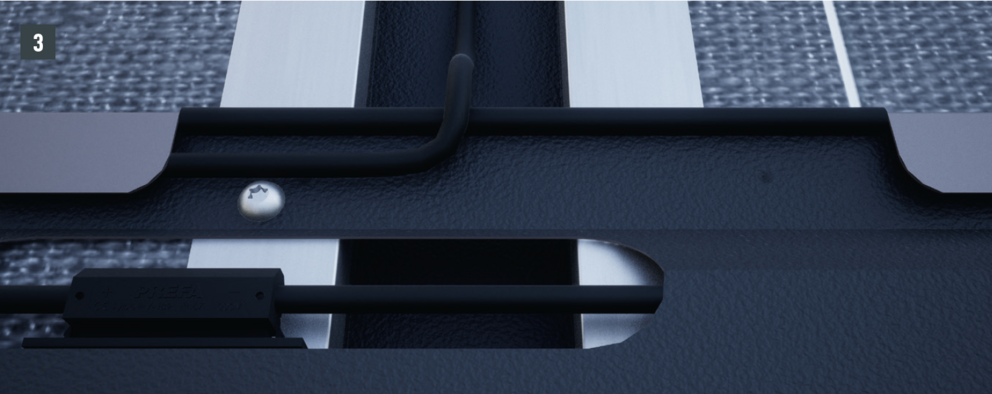
The usually black cables have been shown in colour for greater clarity.
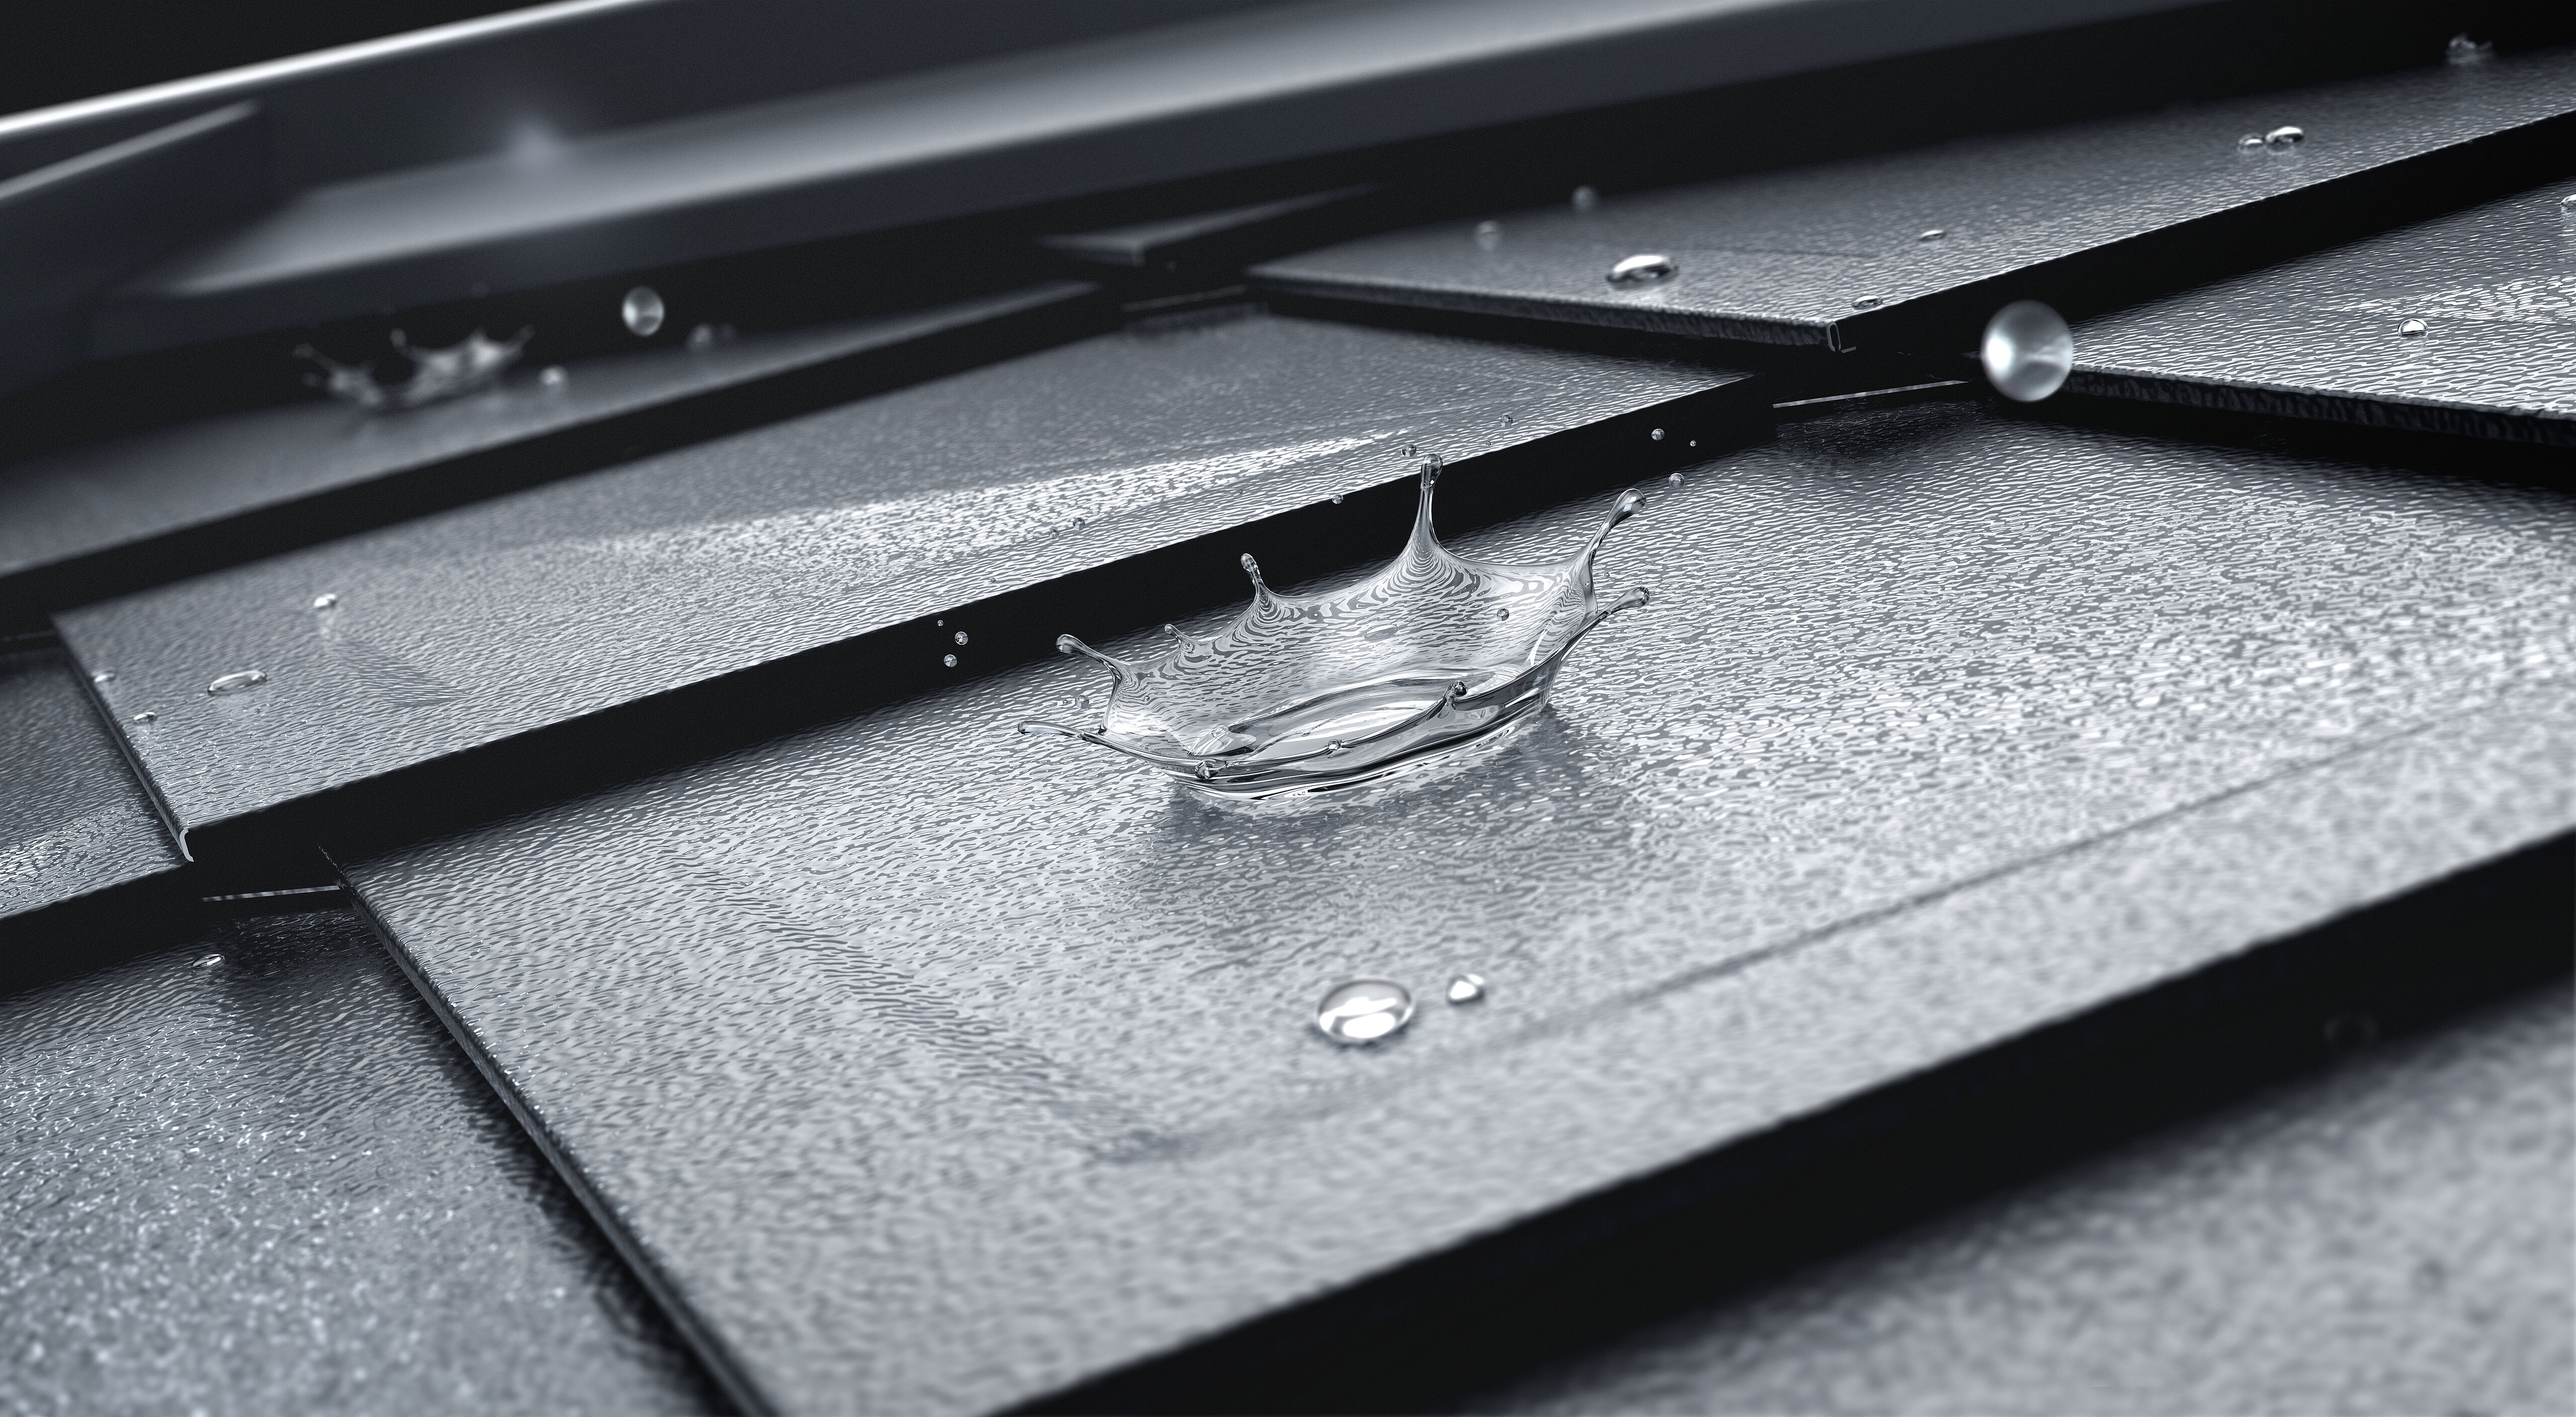
The minimum bending radius of the cable is 25 mm, but must not be less.

The solar generator is completed as soon as all solar roof panels have been contacted and the supply line and discharge line of each individual string has been routed to the building entry with the insulated end.
Label matching pairs of string cables with the correct string number to enable clear assignment by the electrician.
Make sure to secure loose cable ends against accidental damage and moisture. Do not place the cable ends in water and install the cover caps provided. Hand over the generator connection box to the electrical contractor or to the owner.
This is where the electrical contractor’s performance commences.
Prenesete lahko samo vsebine iz ene kategorije izdelkov. Če potrebujete vsebine iz več kategorij, ustvarite ločen prenos za vsako področje izdelkov.